2.50" Bonzi S-Series
2.5 Bonzi/S-Series Shocks
Tools Needed:
Big Shocks 2.25/2.5 Shock Tool
9/16” Socket/Wrench
Torque Wrench
Drain Pan
AW-32 / SAE 10w Hydraulic Fluid
- Clean shock and clamp in soft jaw vice upside down (shaft pointed to the ceiling).
- De-pressurize shock reservoir completely. Remove schrader core.
- Use Big Shocks shock tool to loosen and slide the shaft guide up out of the way (Fig. 1).
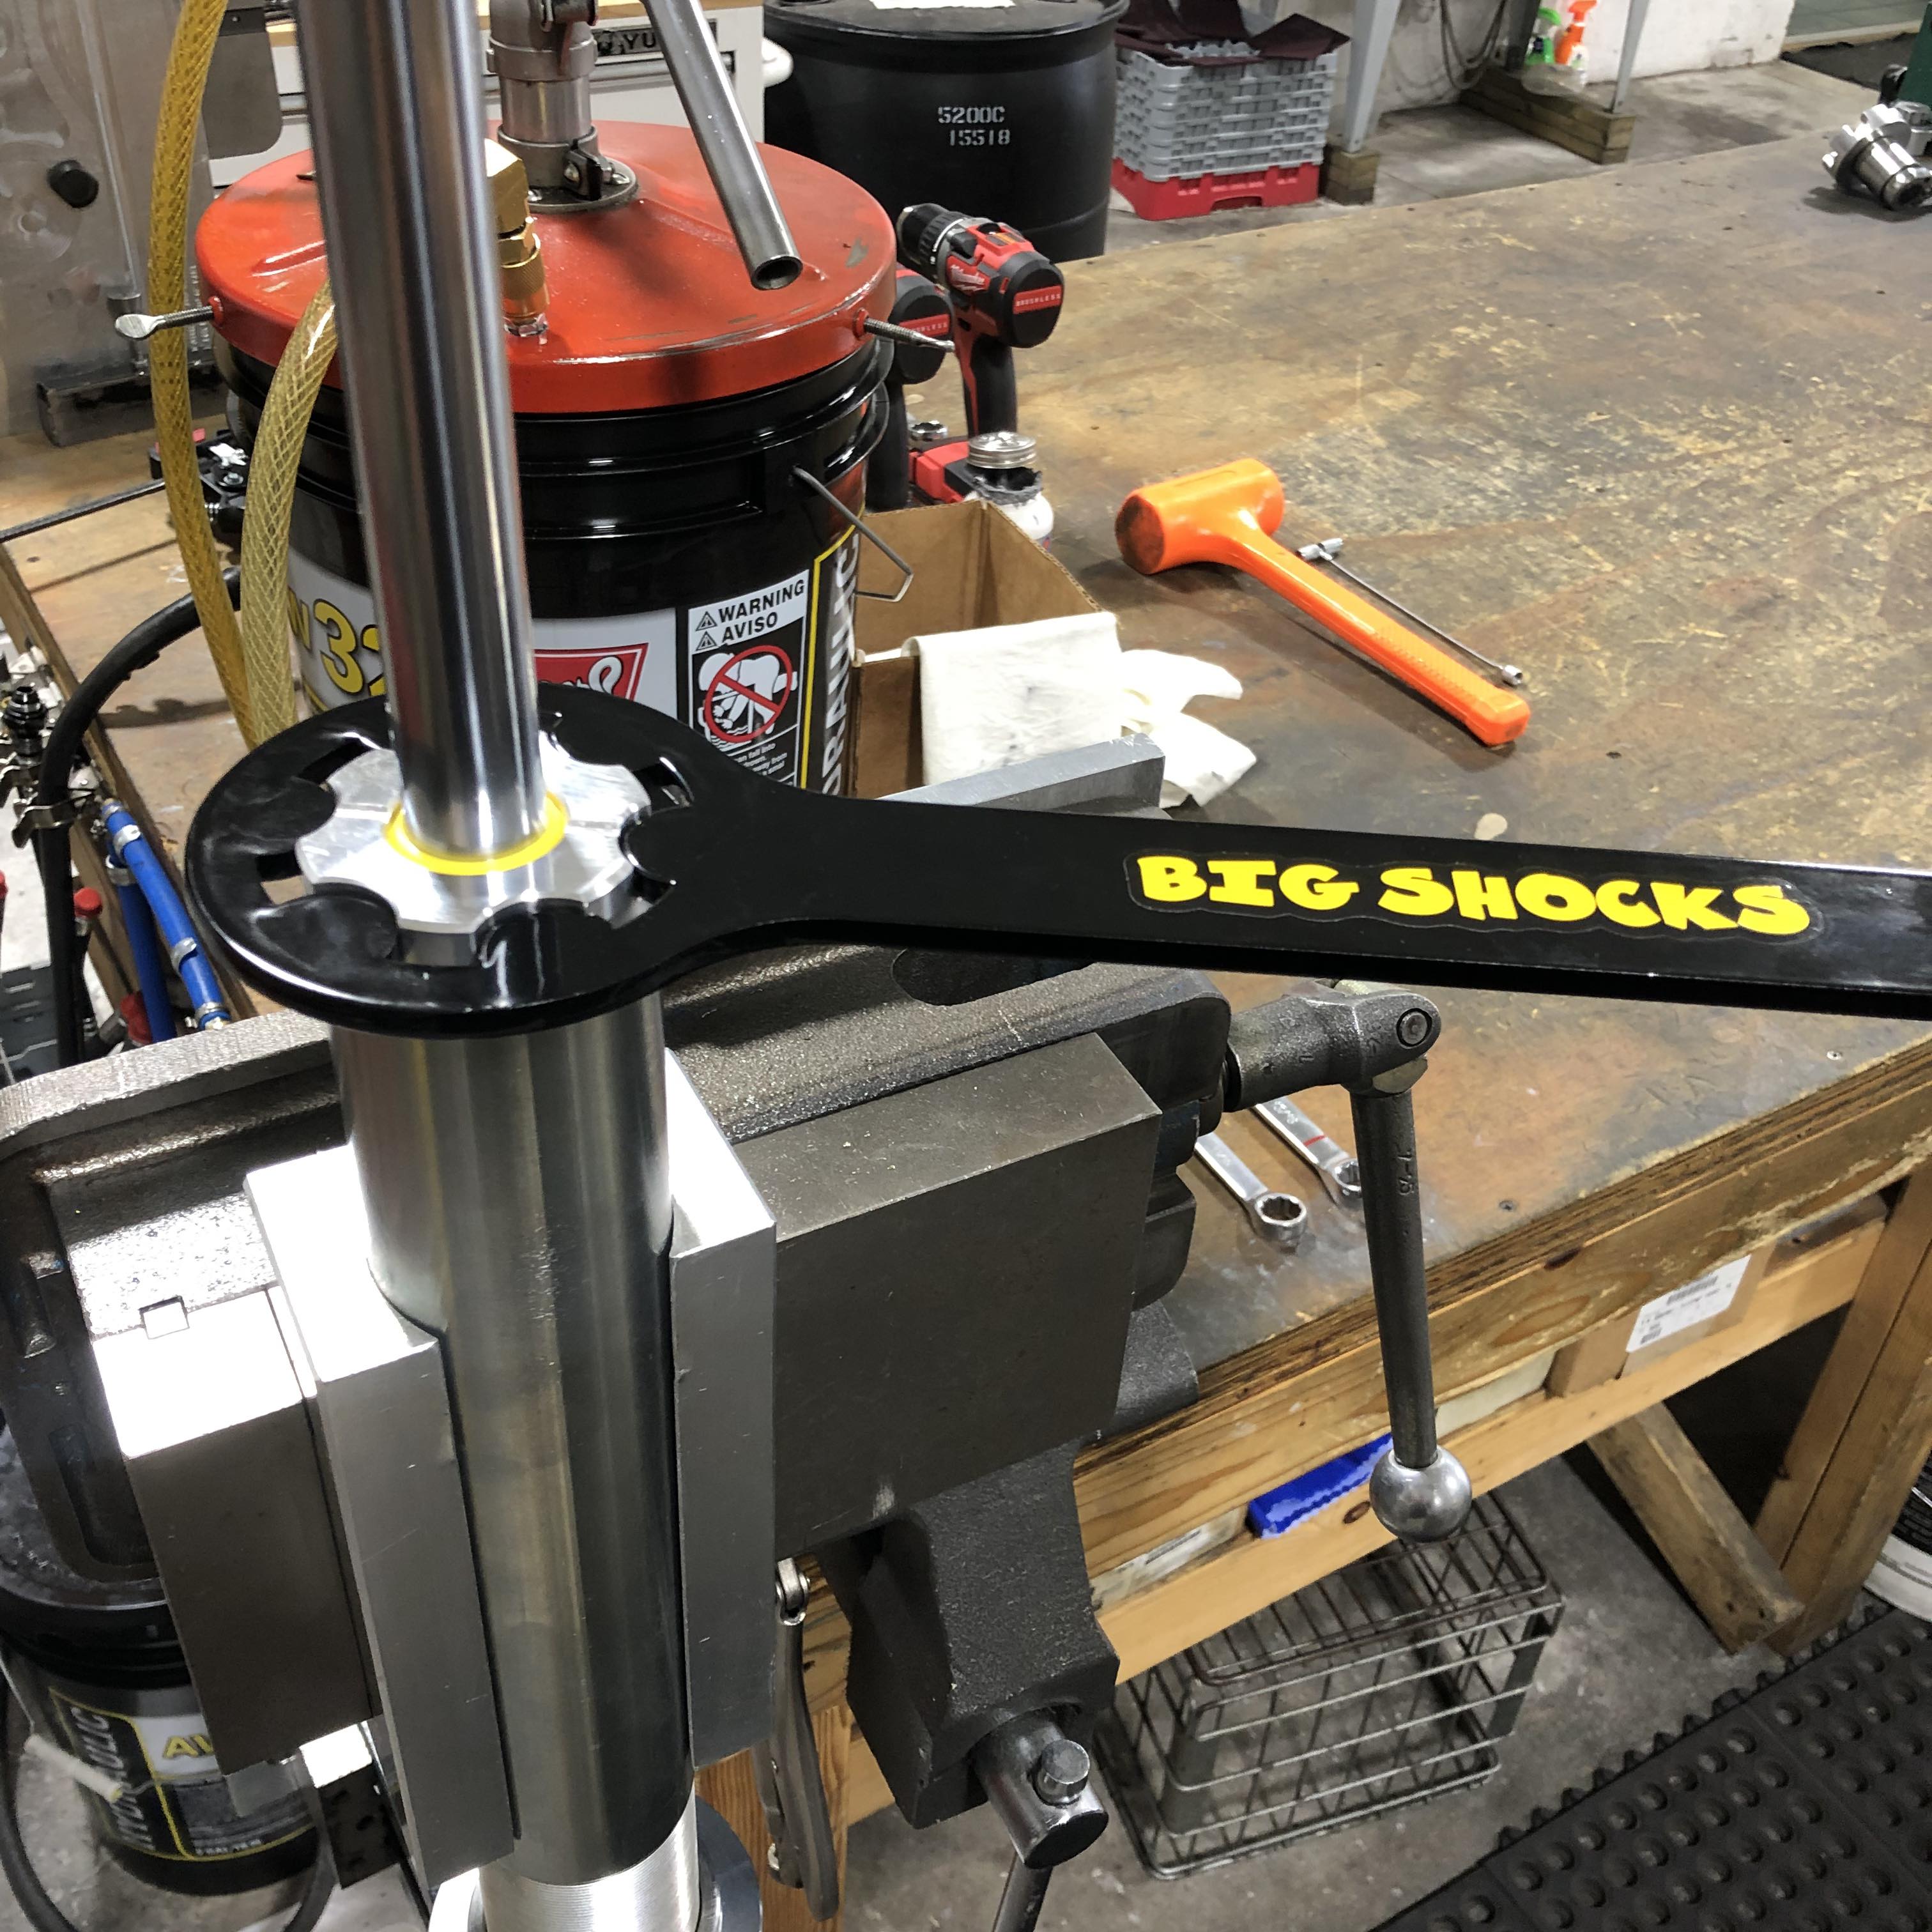 Fig.1
Fig.1
- Remove shaft and shaft guide slowly. Be cautious of oil running out and allow to drain into shock body (Fig. 2). Wipe assembly with rag and set aside.
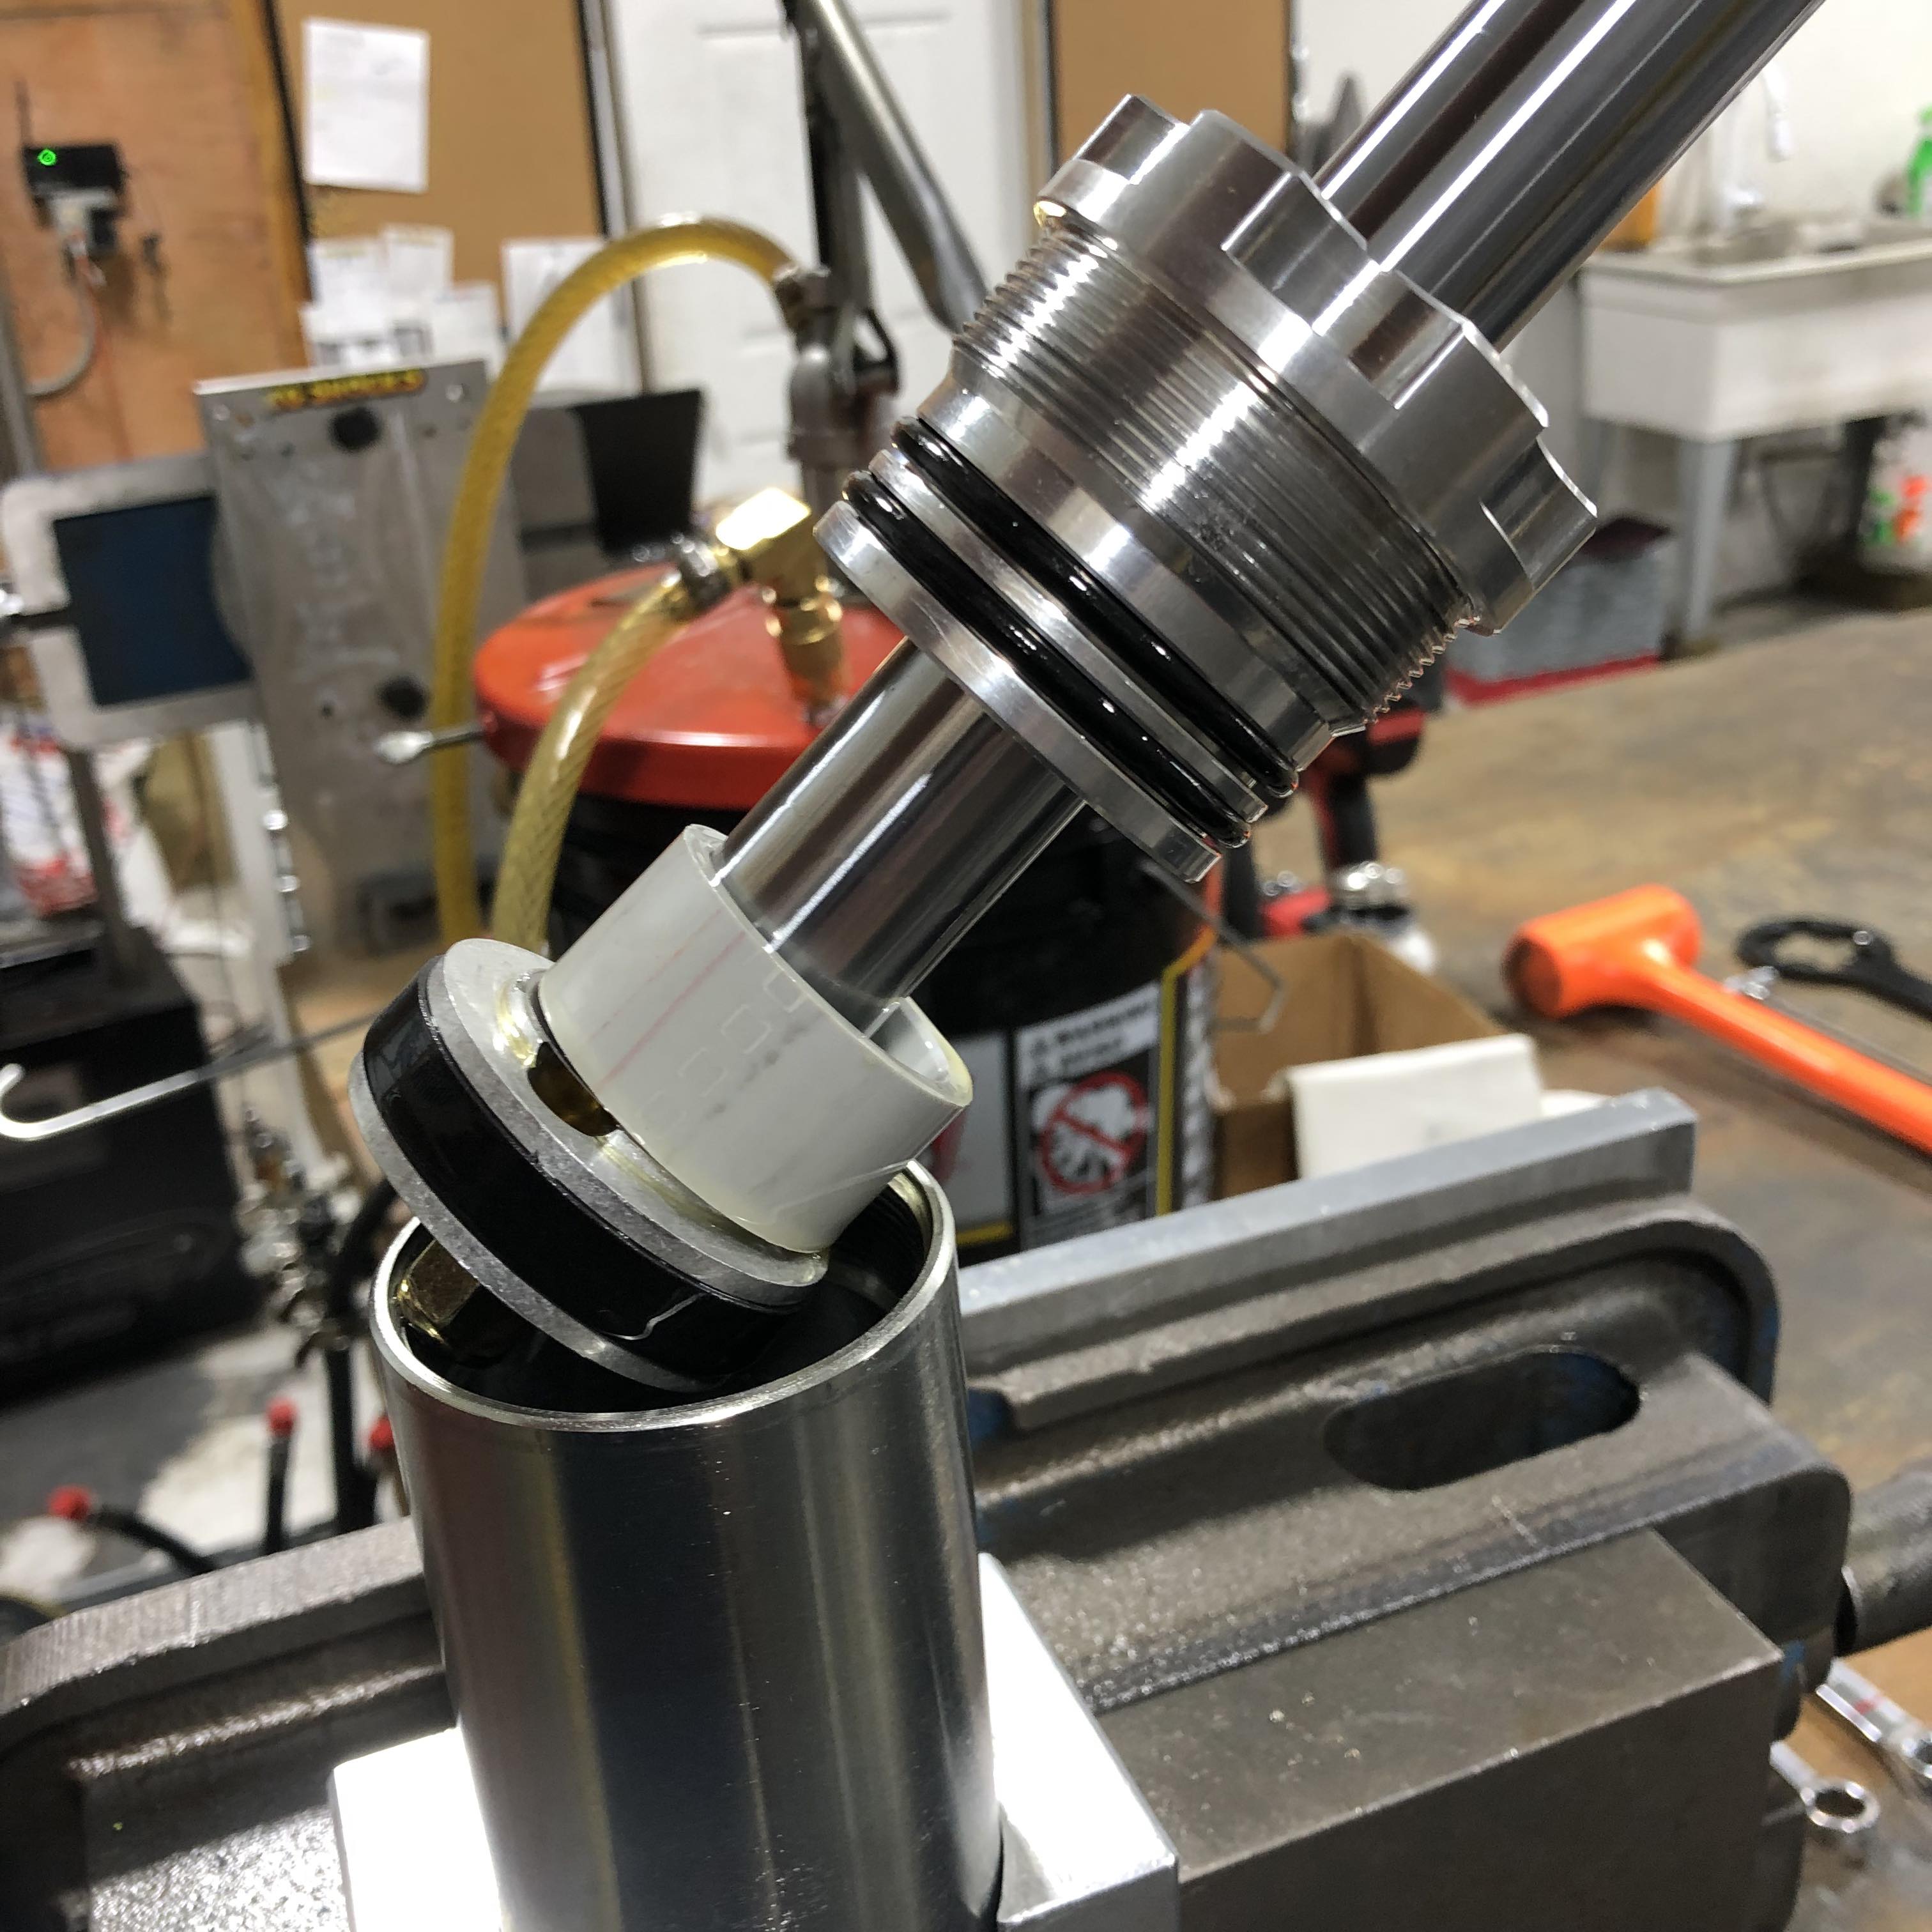 Fig.2
Fig.2
- Drain all old oil from shock and reservoir. Hold shock body in drain bucket and charge reservoir with small amounts of clean air to be sure IFP (internal floating piston) is against hose end piston. Small amounts of oil may spray out when you do this. De-pressurize reservoir again.
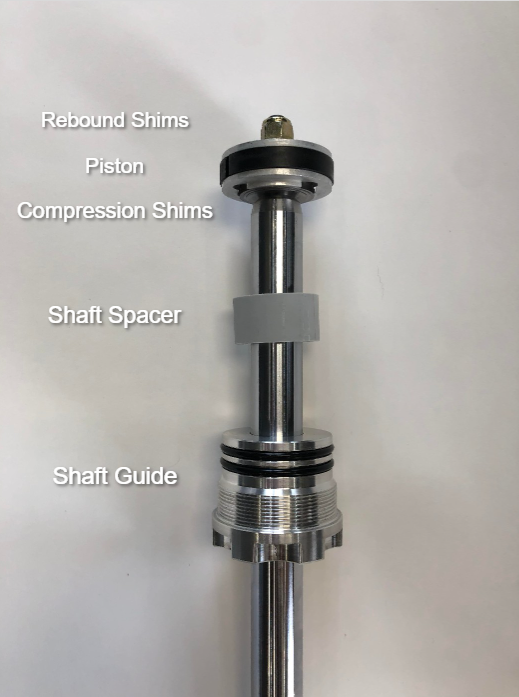
- Clamp shaft, piston side up in vice with soft jaws to not damage it. Remove the nut with a 9/16” wrench or socket (Fig. 3). Be sure to keep track of valve shims and piston orientation during disassembly.
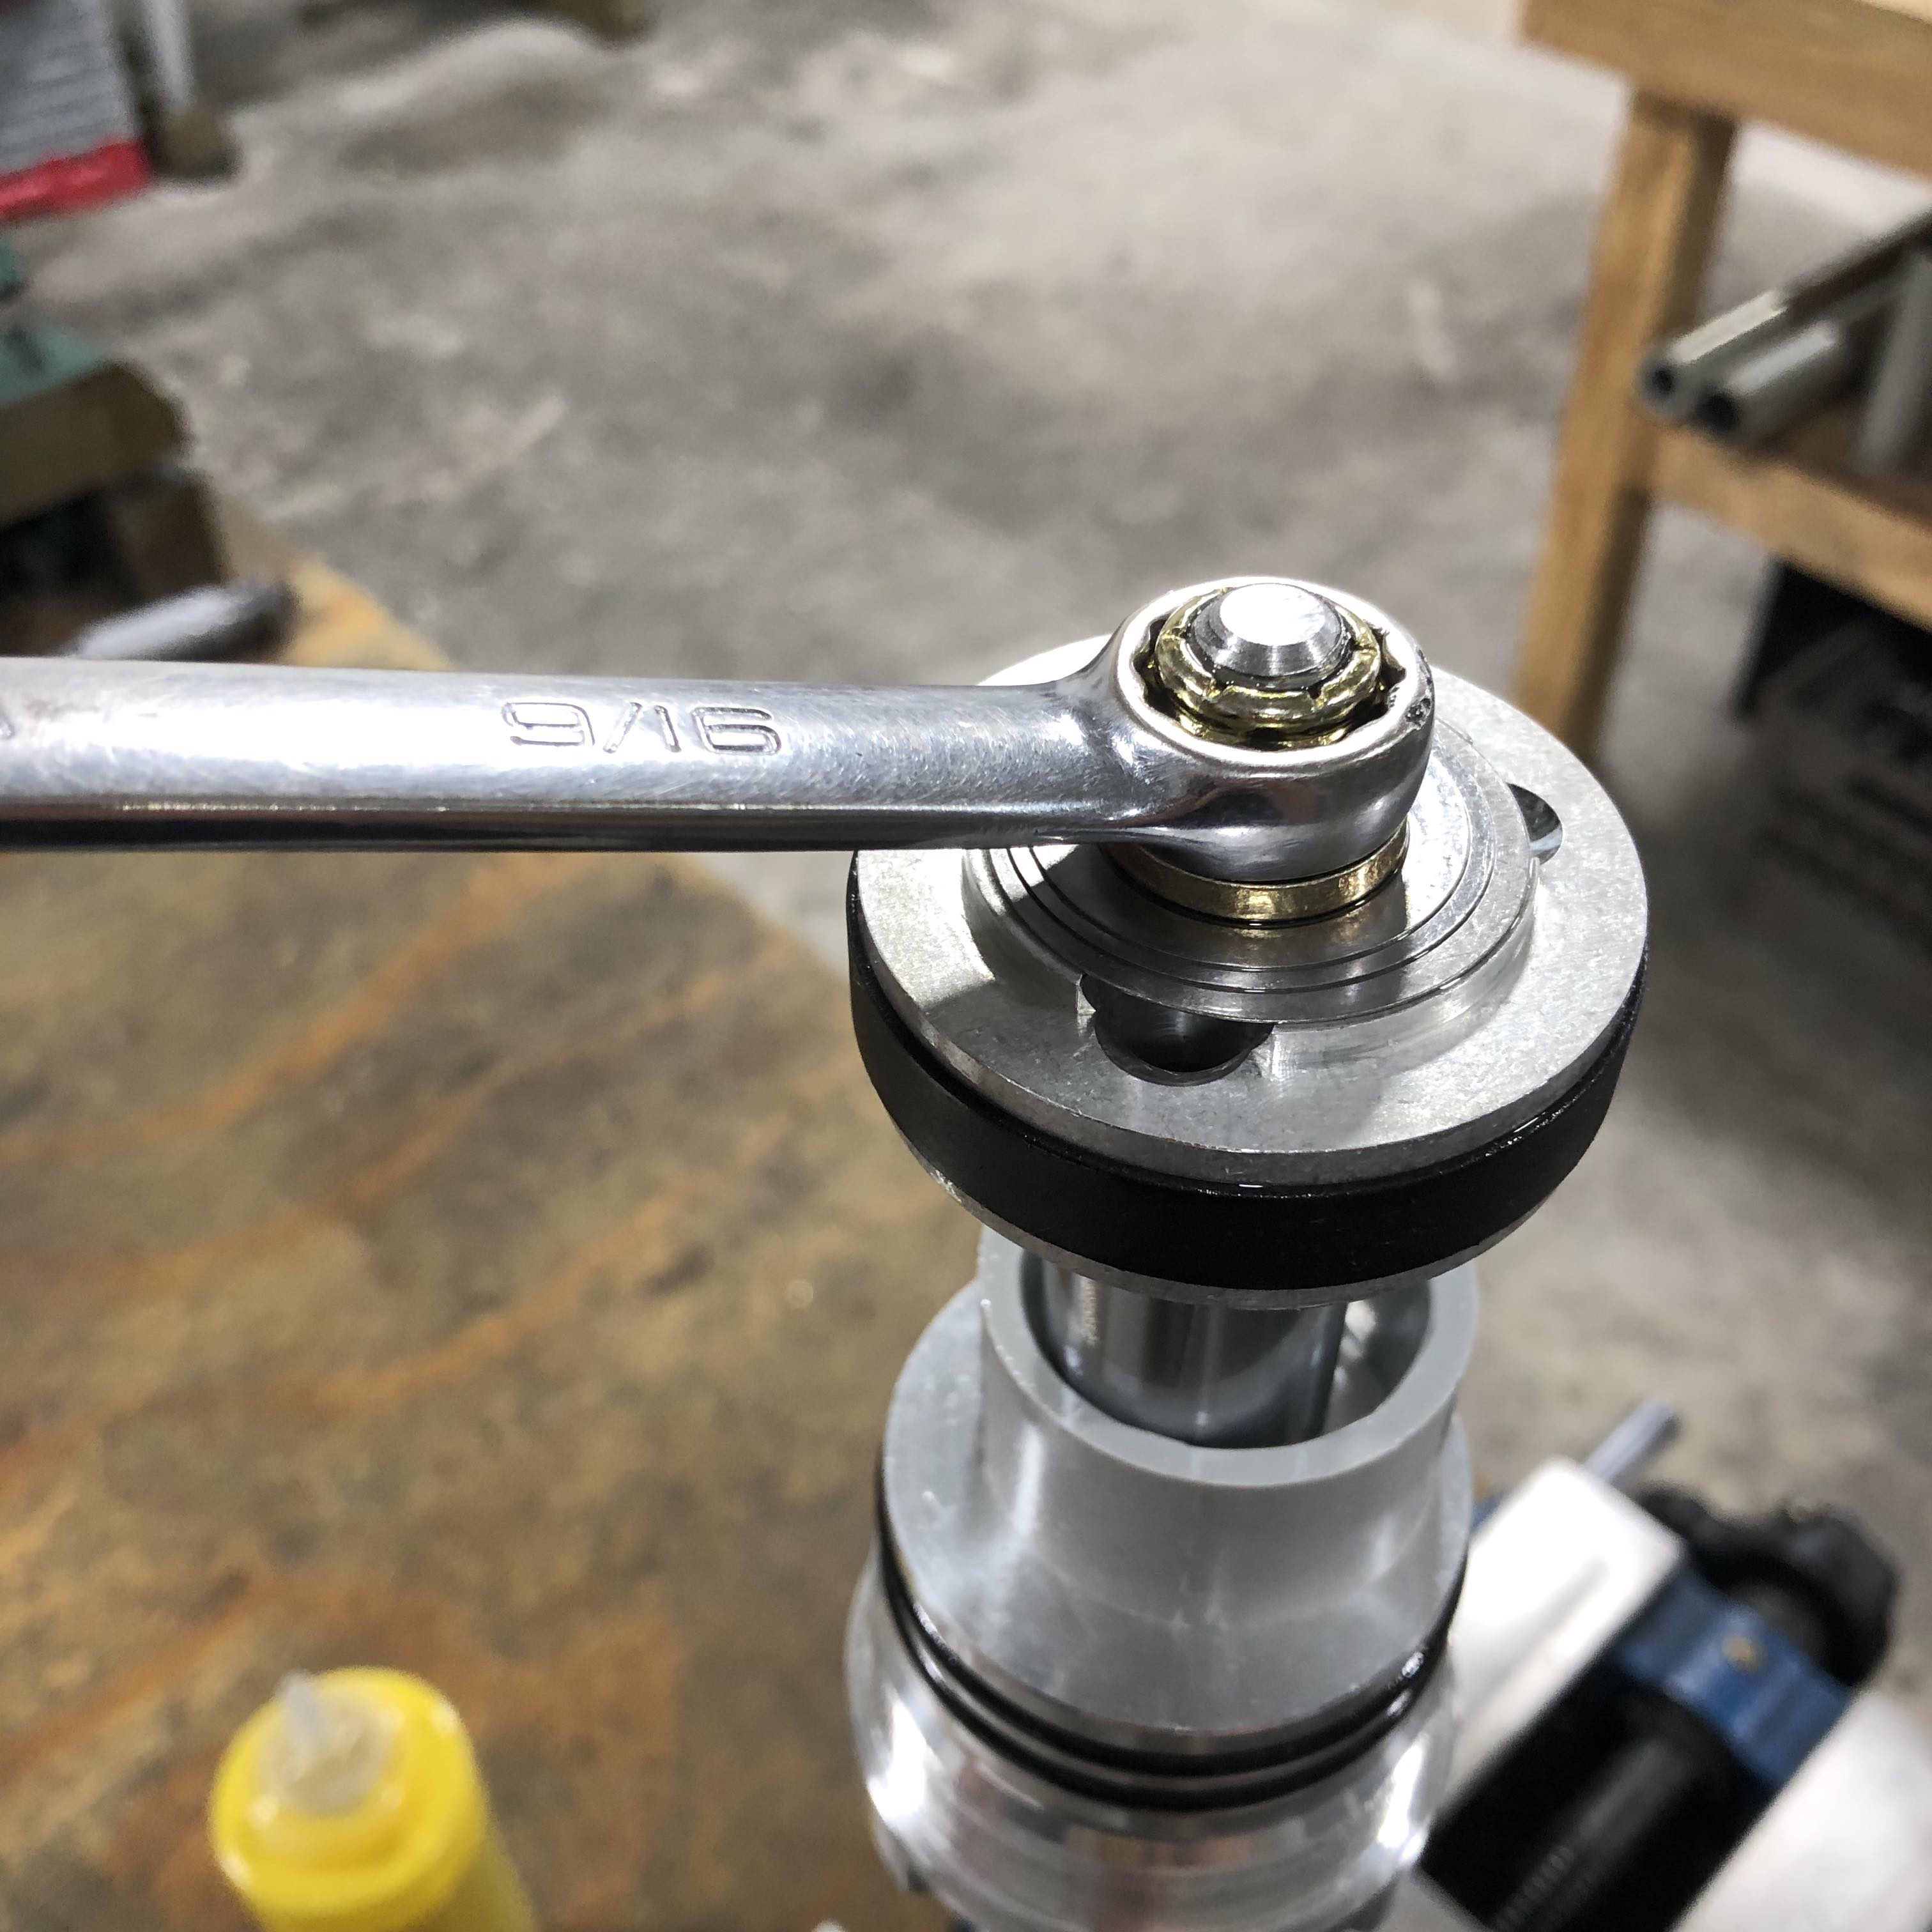 Fig.3
Fig.3
- Inspect valve shims, piston, shaft spacer, and shaft guide for any damage. Clean all parts (Fig. 4-6).
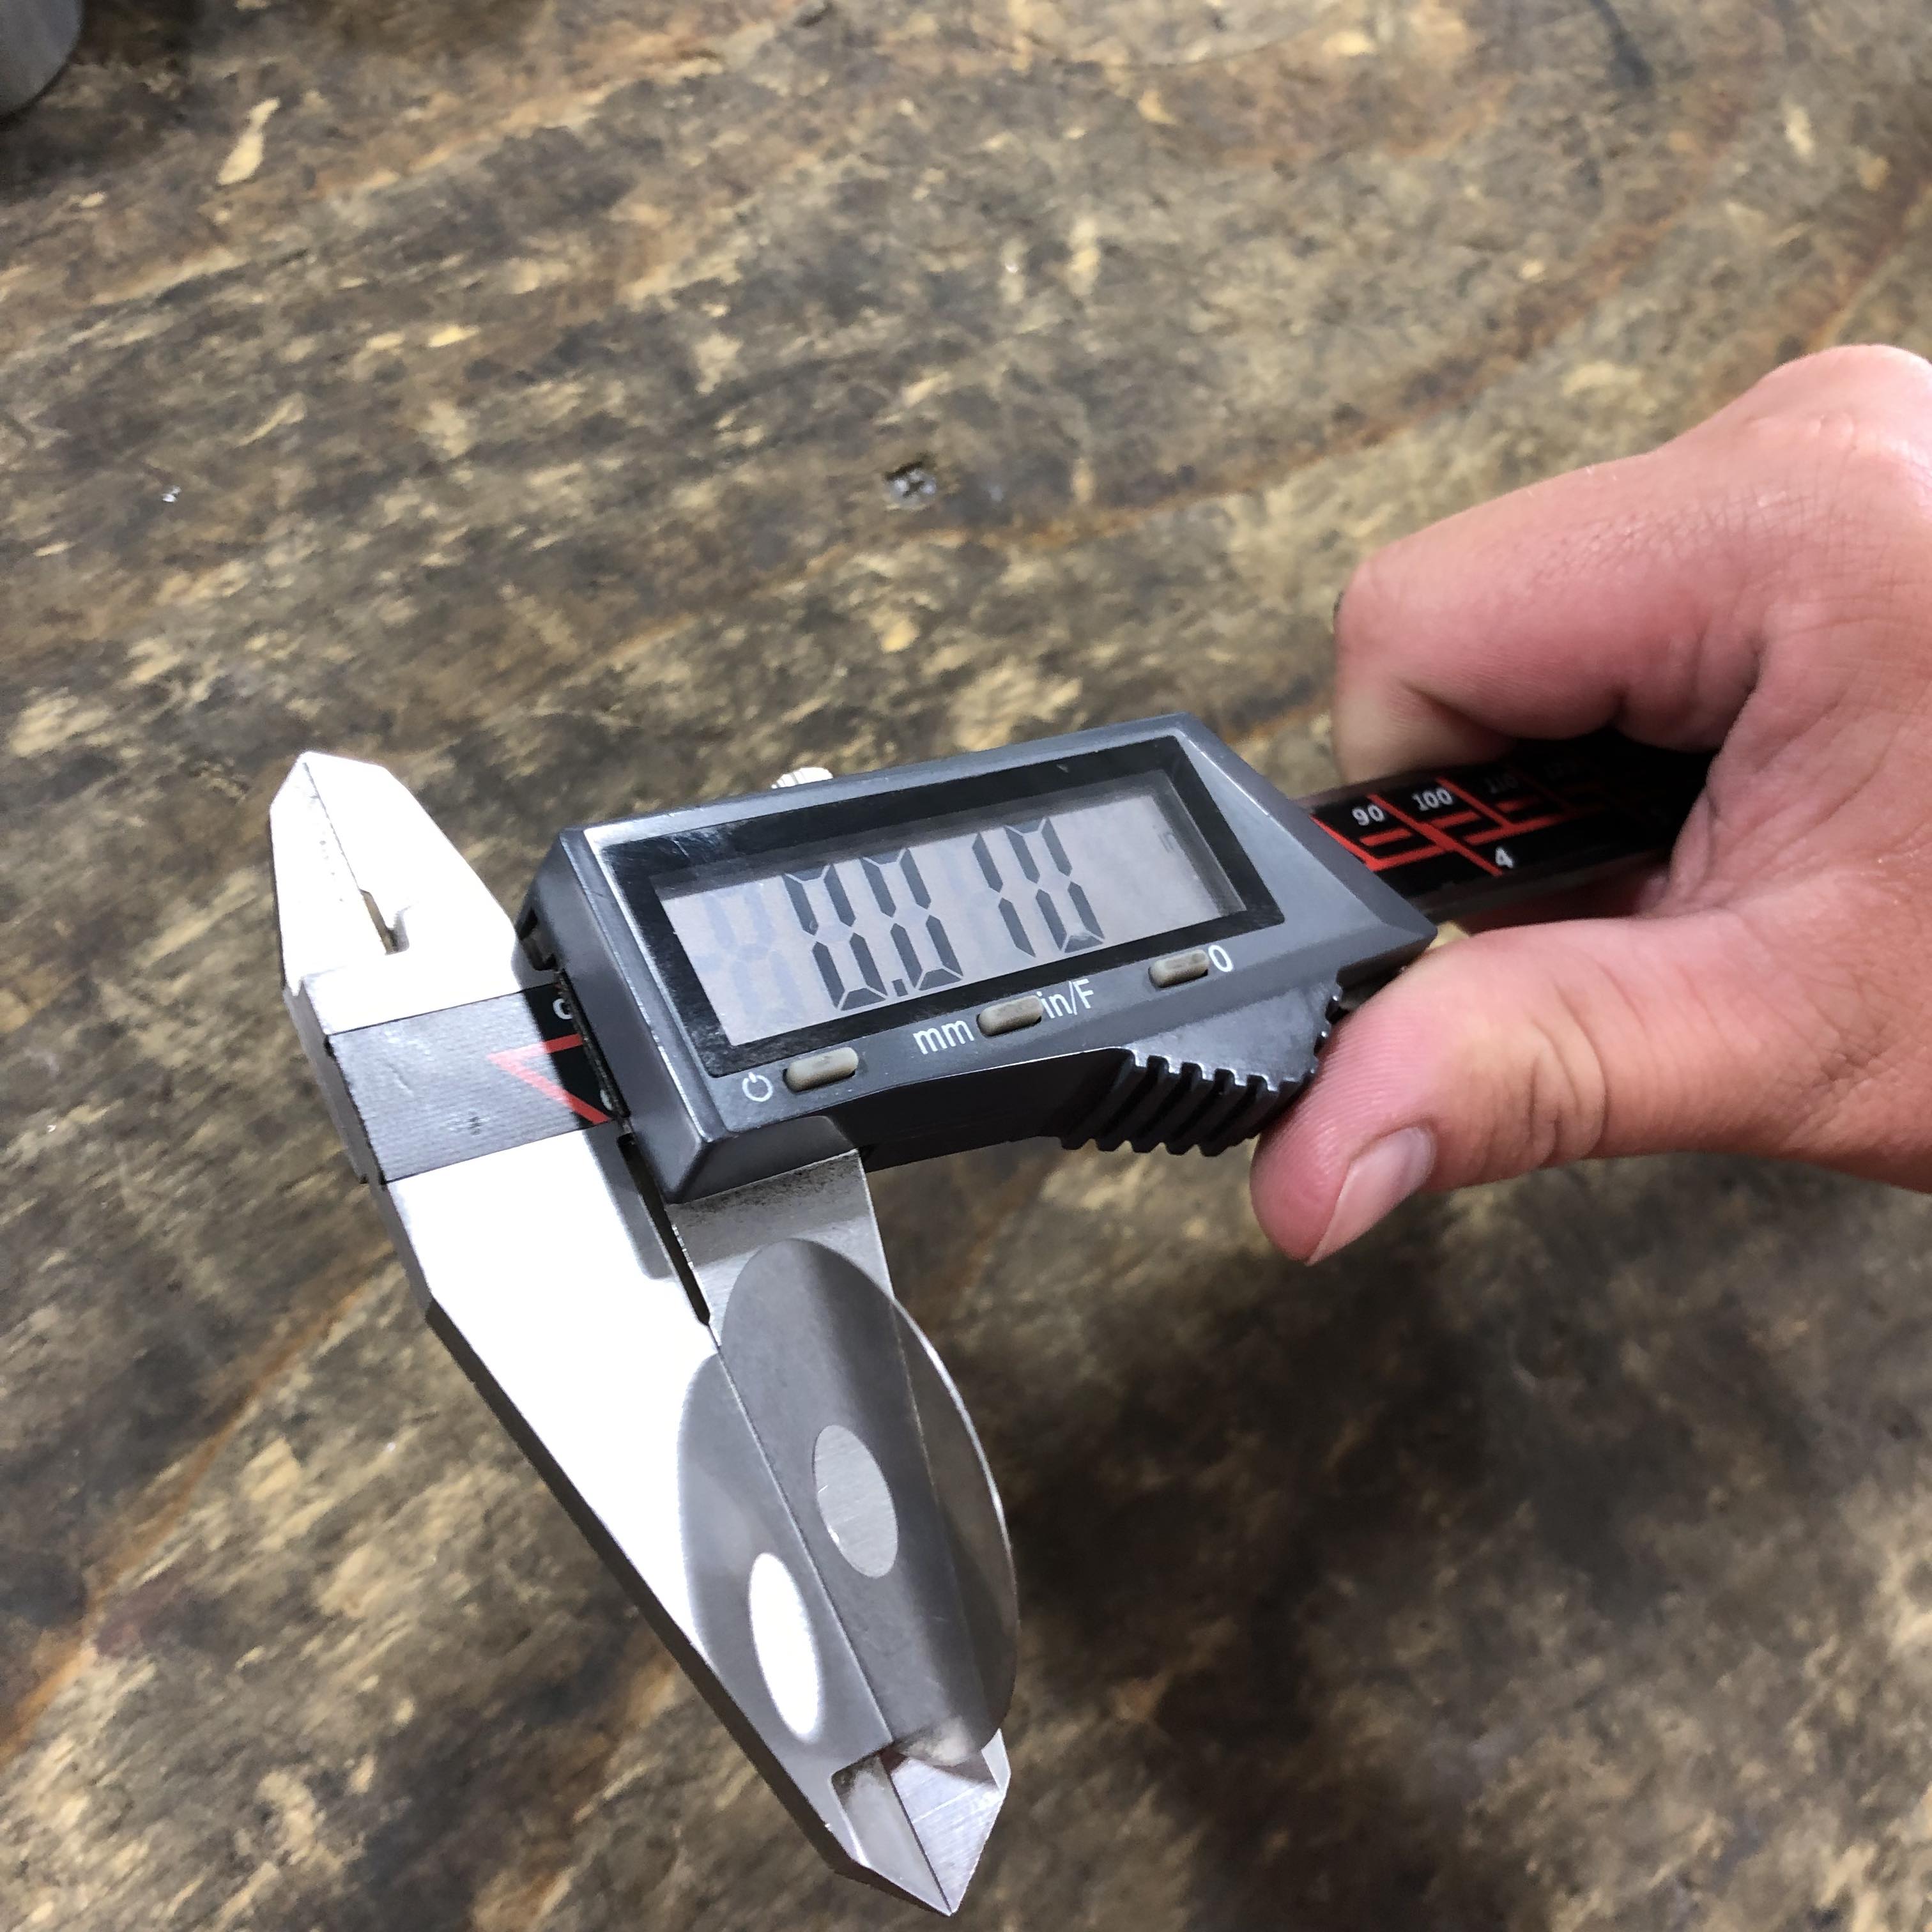 Fig.4
Fig.4 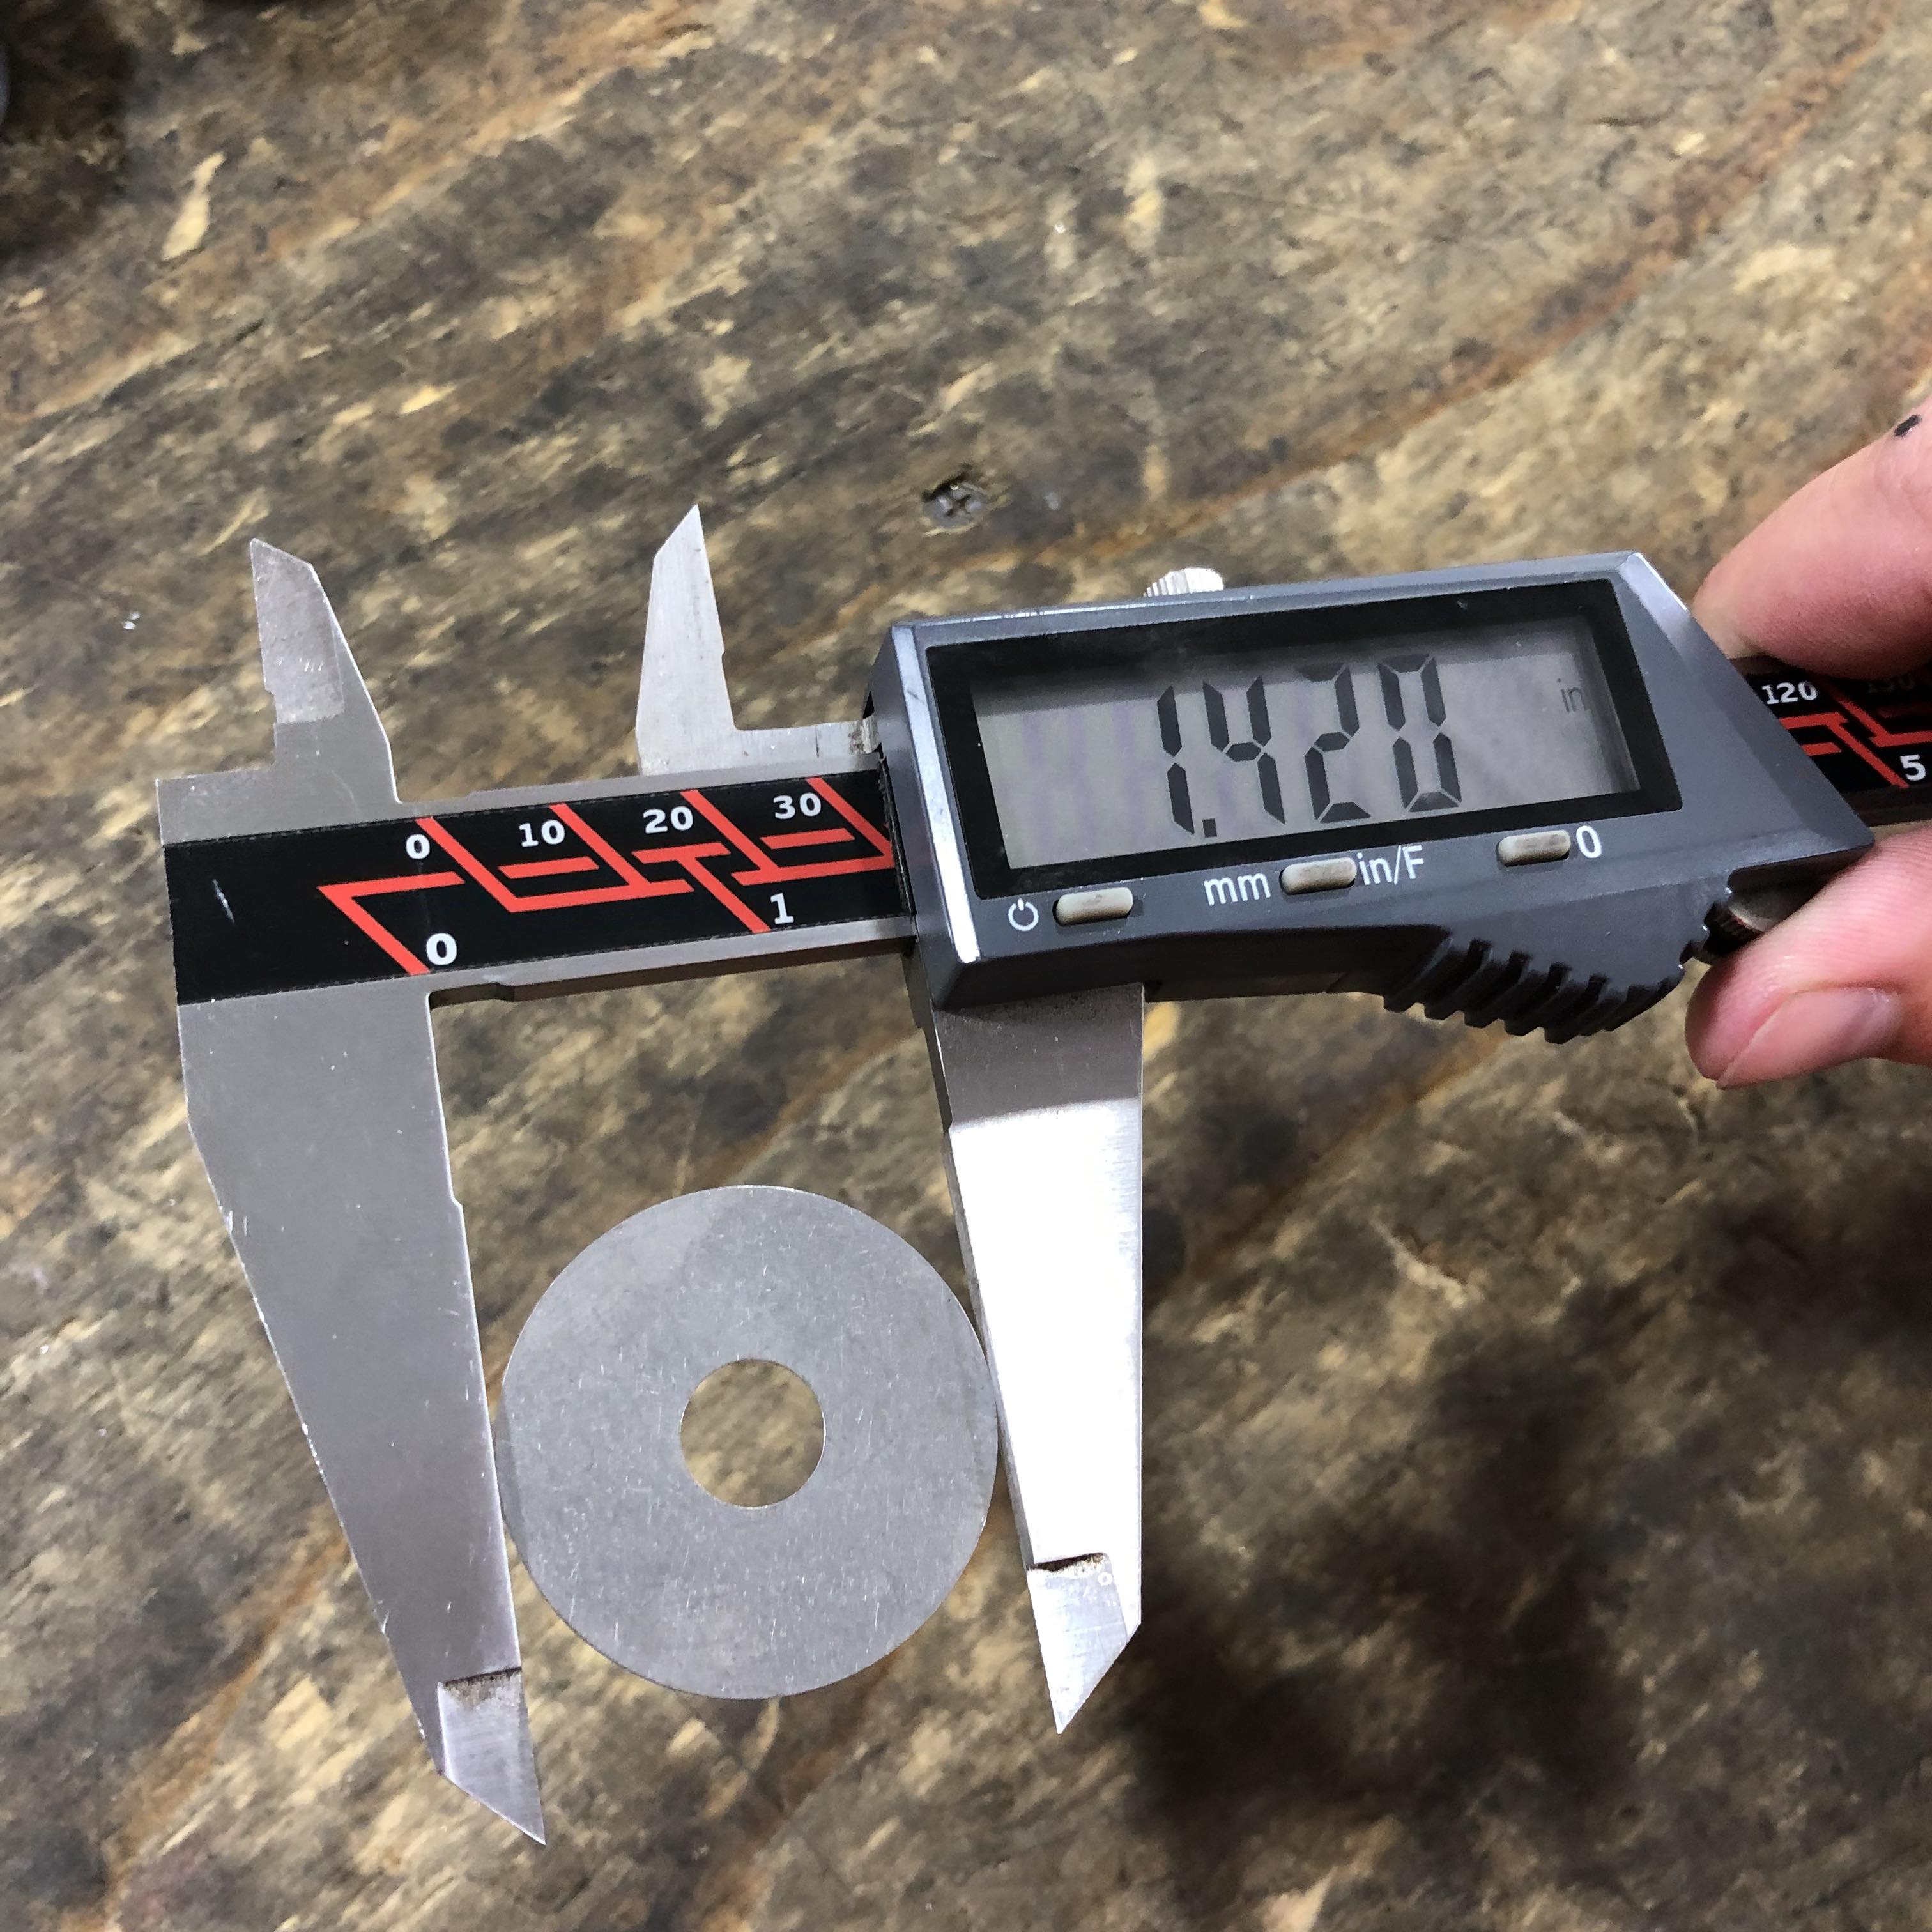 Fig.5
Fig.5
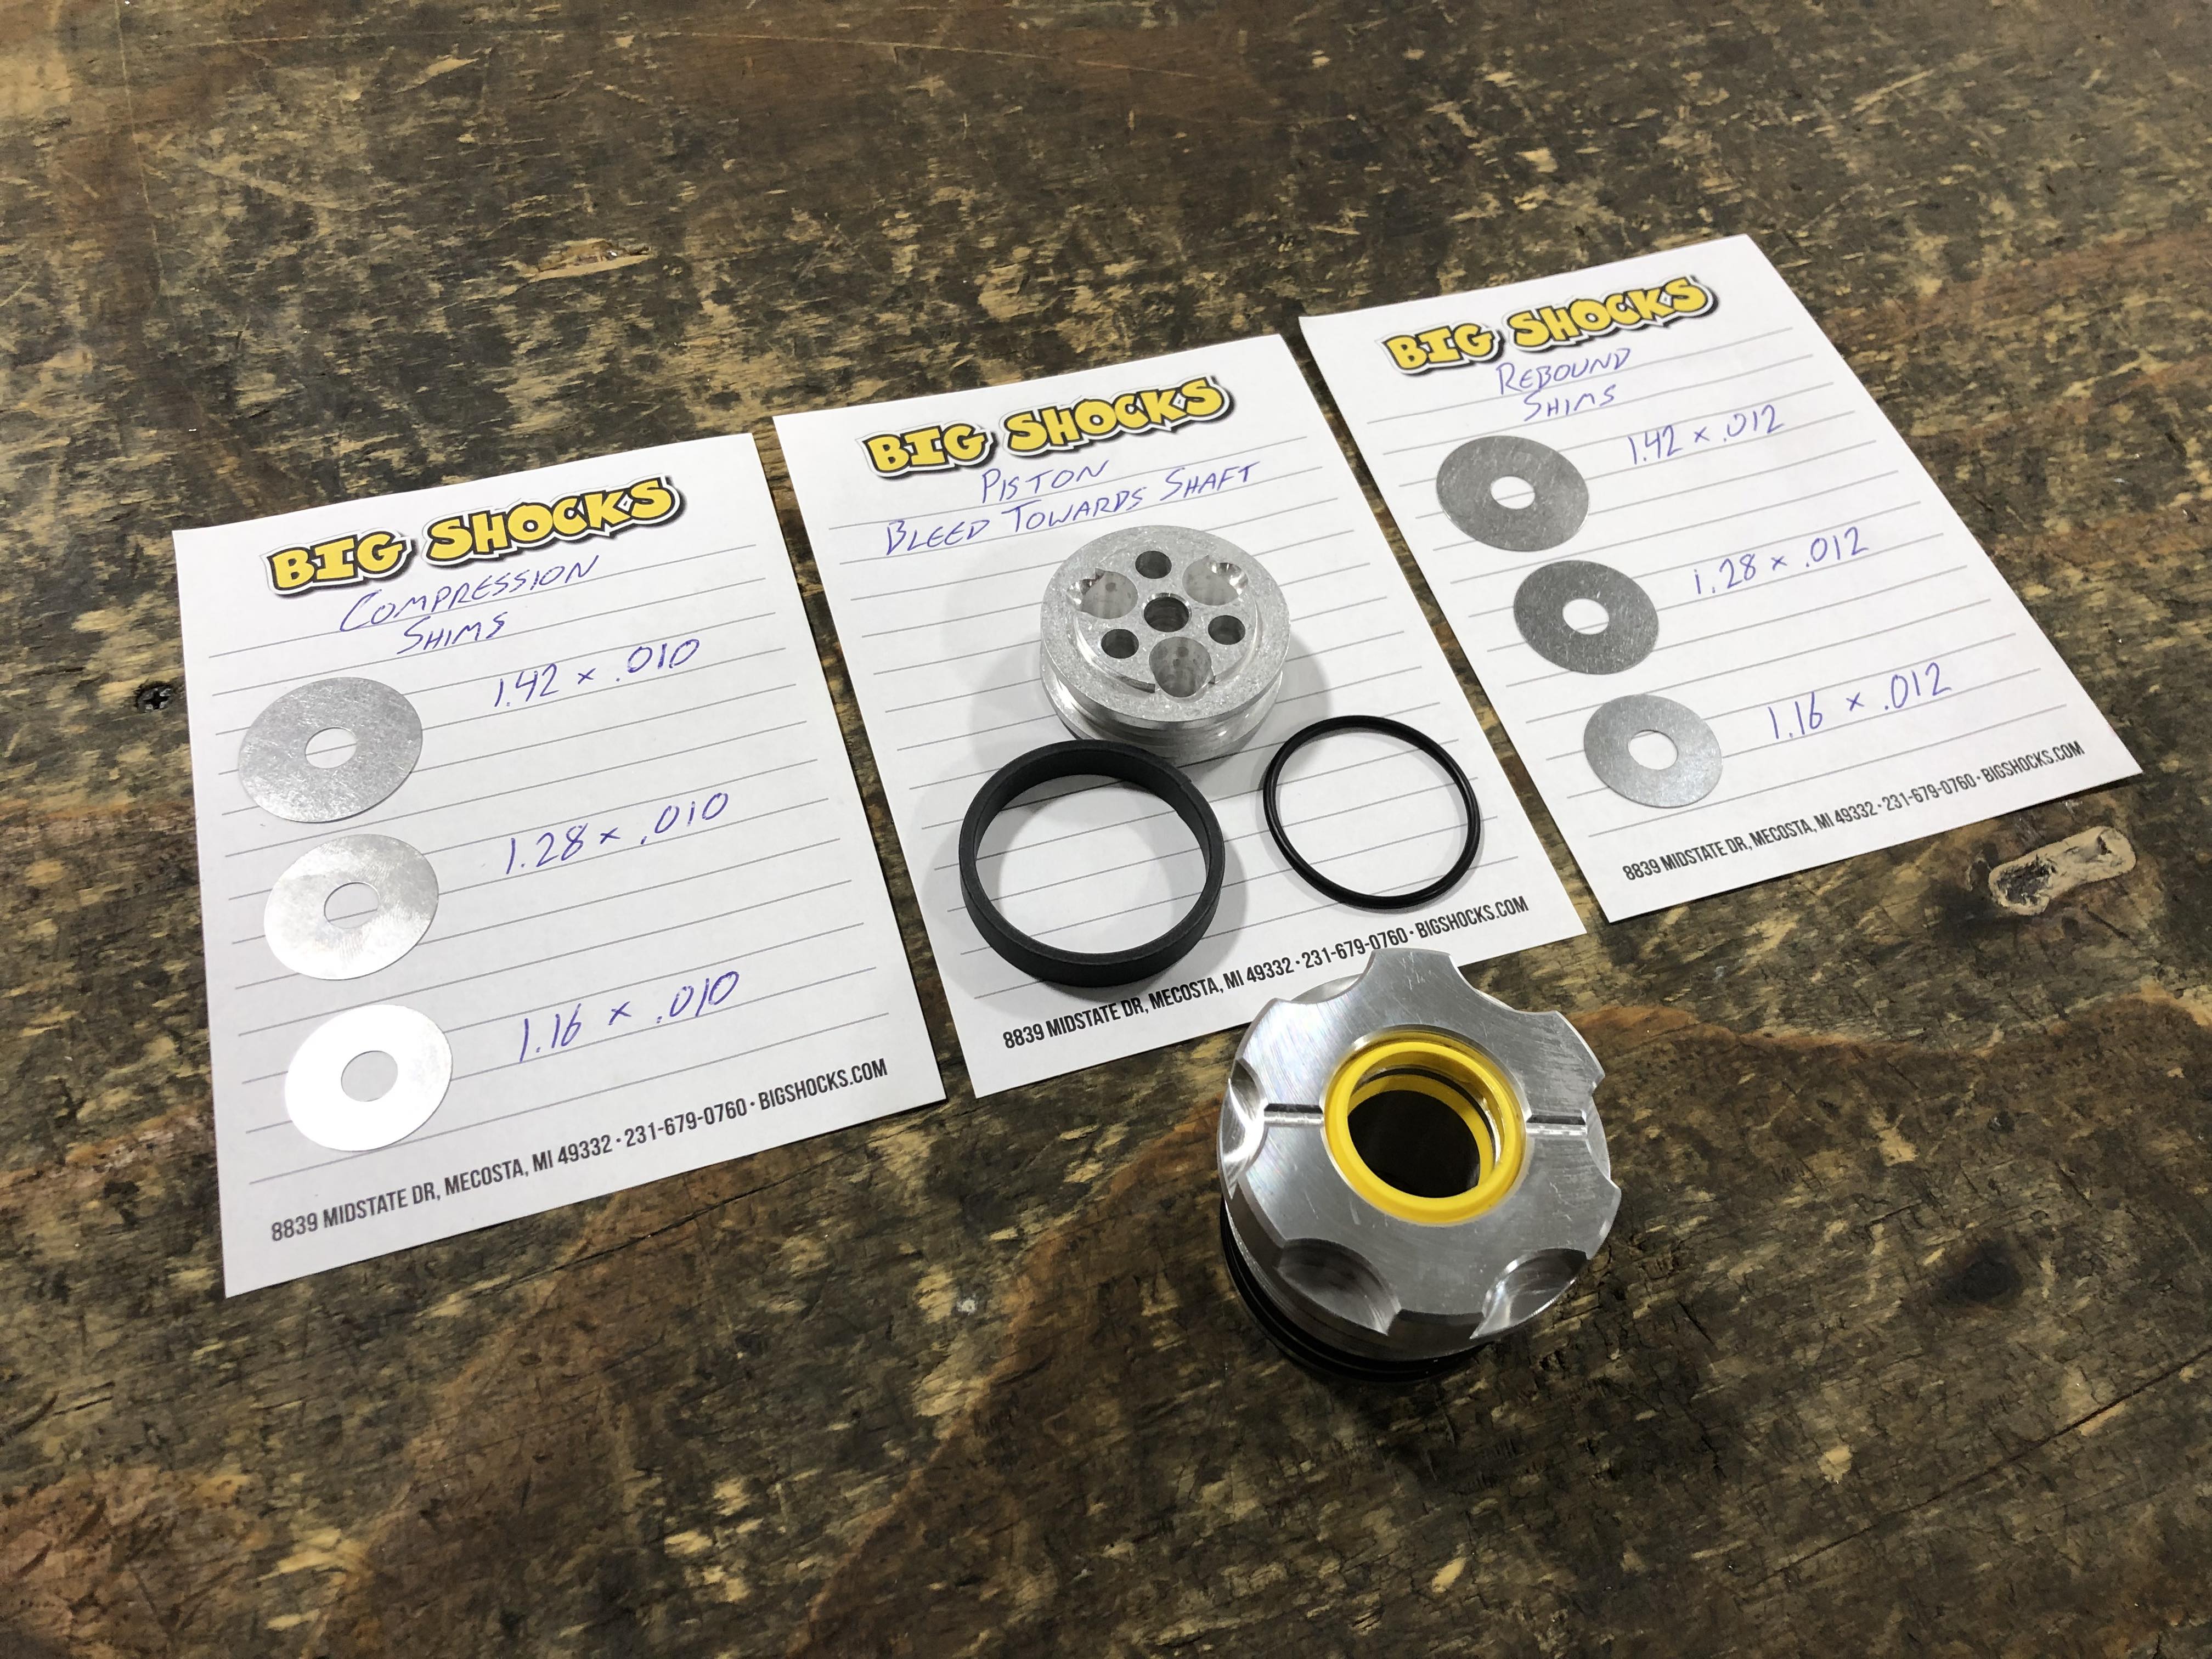 Fig.6
Fig.6
- Remove seals from seal cap and shaft guide assembly if they need replaced. Be careful to not scratch any surfaces. If you are only re-valving the shock or changing the oil you do not need to remove the seals and can skip to Step 11.
- Install new seals using a small amount of shock oil or grease.
- Inspect shock shaft if it is bent or has any deep pitting/nicks. Replace if required as this may cause seal failure.
- Install shaft guide assembly onto shaft then shaft spacer. Be cautious to not force and damage any seals.
- Install compression valving shims, piston and rebound valving shims in the same order they came off. Torque nut to 25 ft/lbs.
- Clean shock body assembly. Place in a vise open end up and allow reservoir to hang down.
- Slowly start to fill the shock body with AW-32 hydraulic oil or SAE 10w until about 2” from the top. Shake/wiggle reservoir to help release trapped air bubbles and allow to sit for a few minutes.
- Insert shaft and valving assembly into shock. Gently move the shaft assembly in and out until all the air bubbles are removed. Be sure to not pull the piston out of the oil as you will create a pocket of air. You are trying to bleed any air that may be trapped in the shock.
- Once there is no more bubbles rising to the surface, allow the shaft spacer to slide into the shock. You will want to continue to add oil and raise the shaft assembly until both are at the bottom of the threads (Fig. 7).
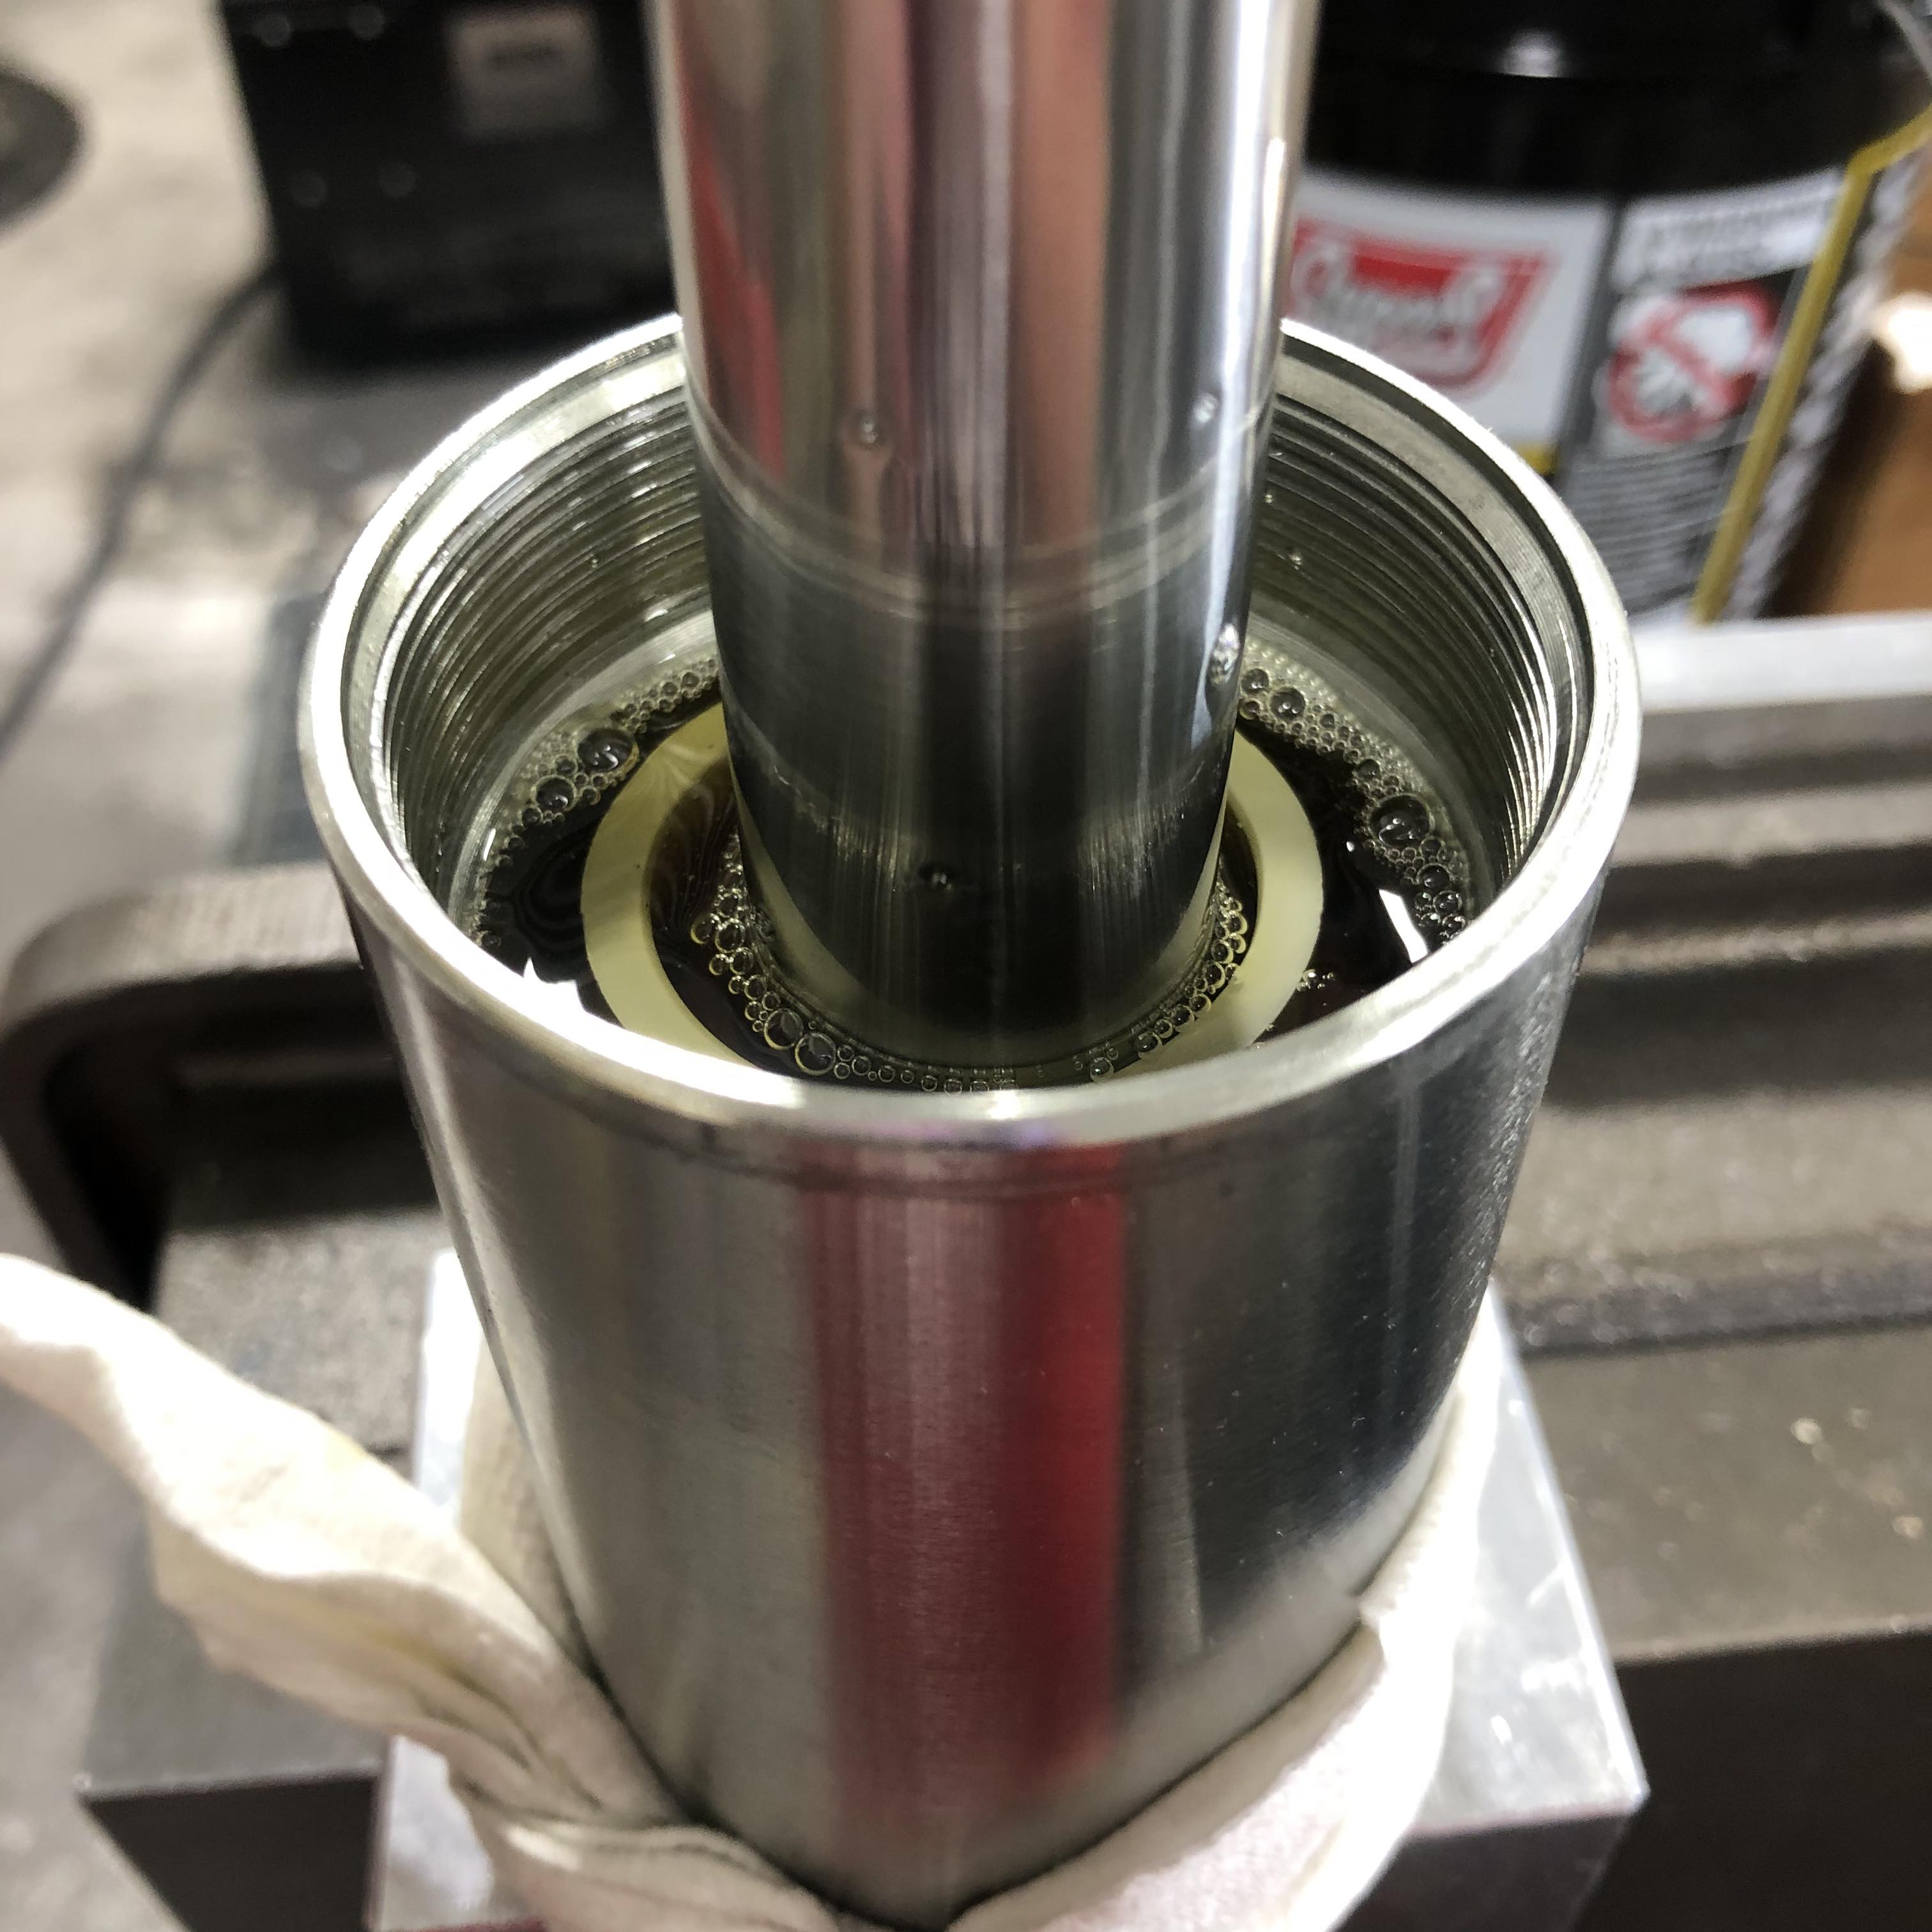 Fig. 7
- Hold the shaft at the same height while you slowly insert the shaft guide into the shock body. Oil will typically spill out of shock as shaft guide goes in. Start threads by hand and tighten down with Big Shocks shock tool (Fig. 8).
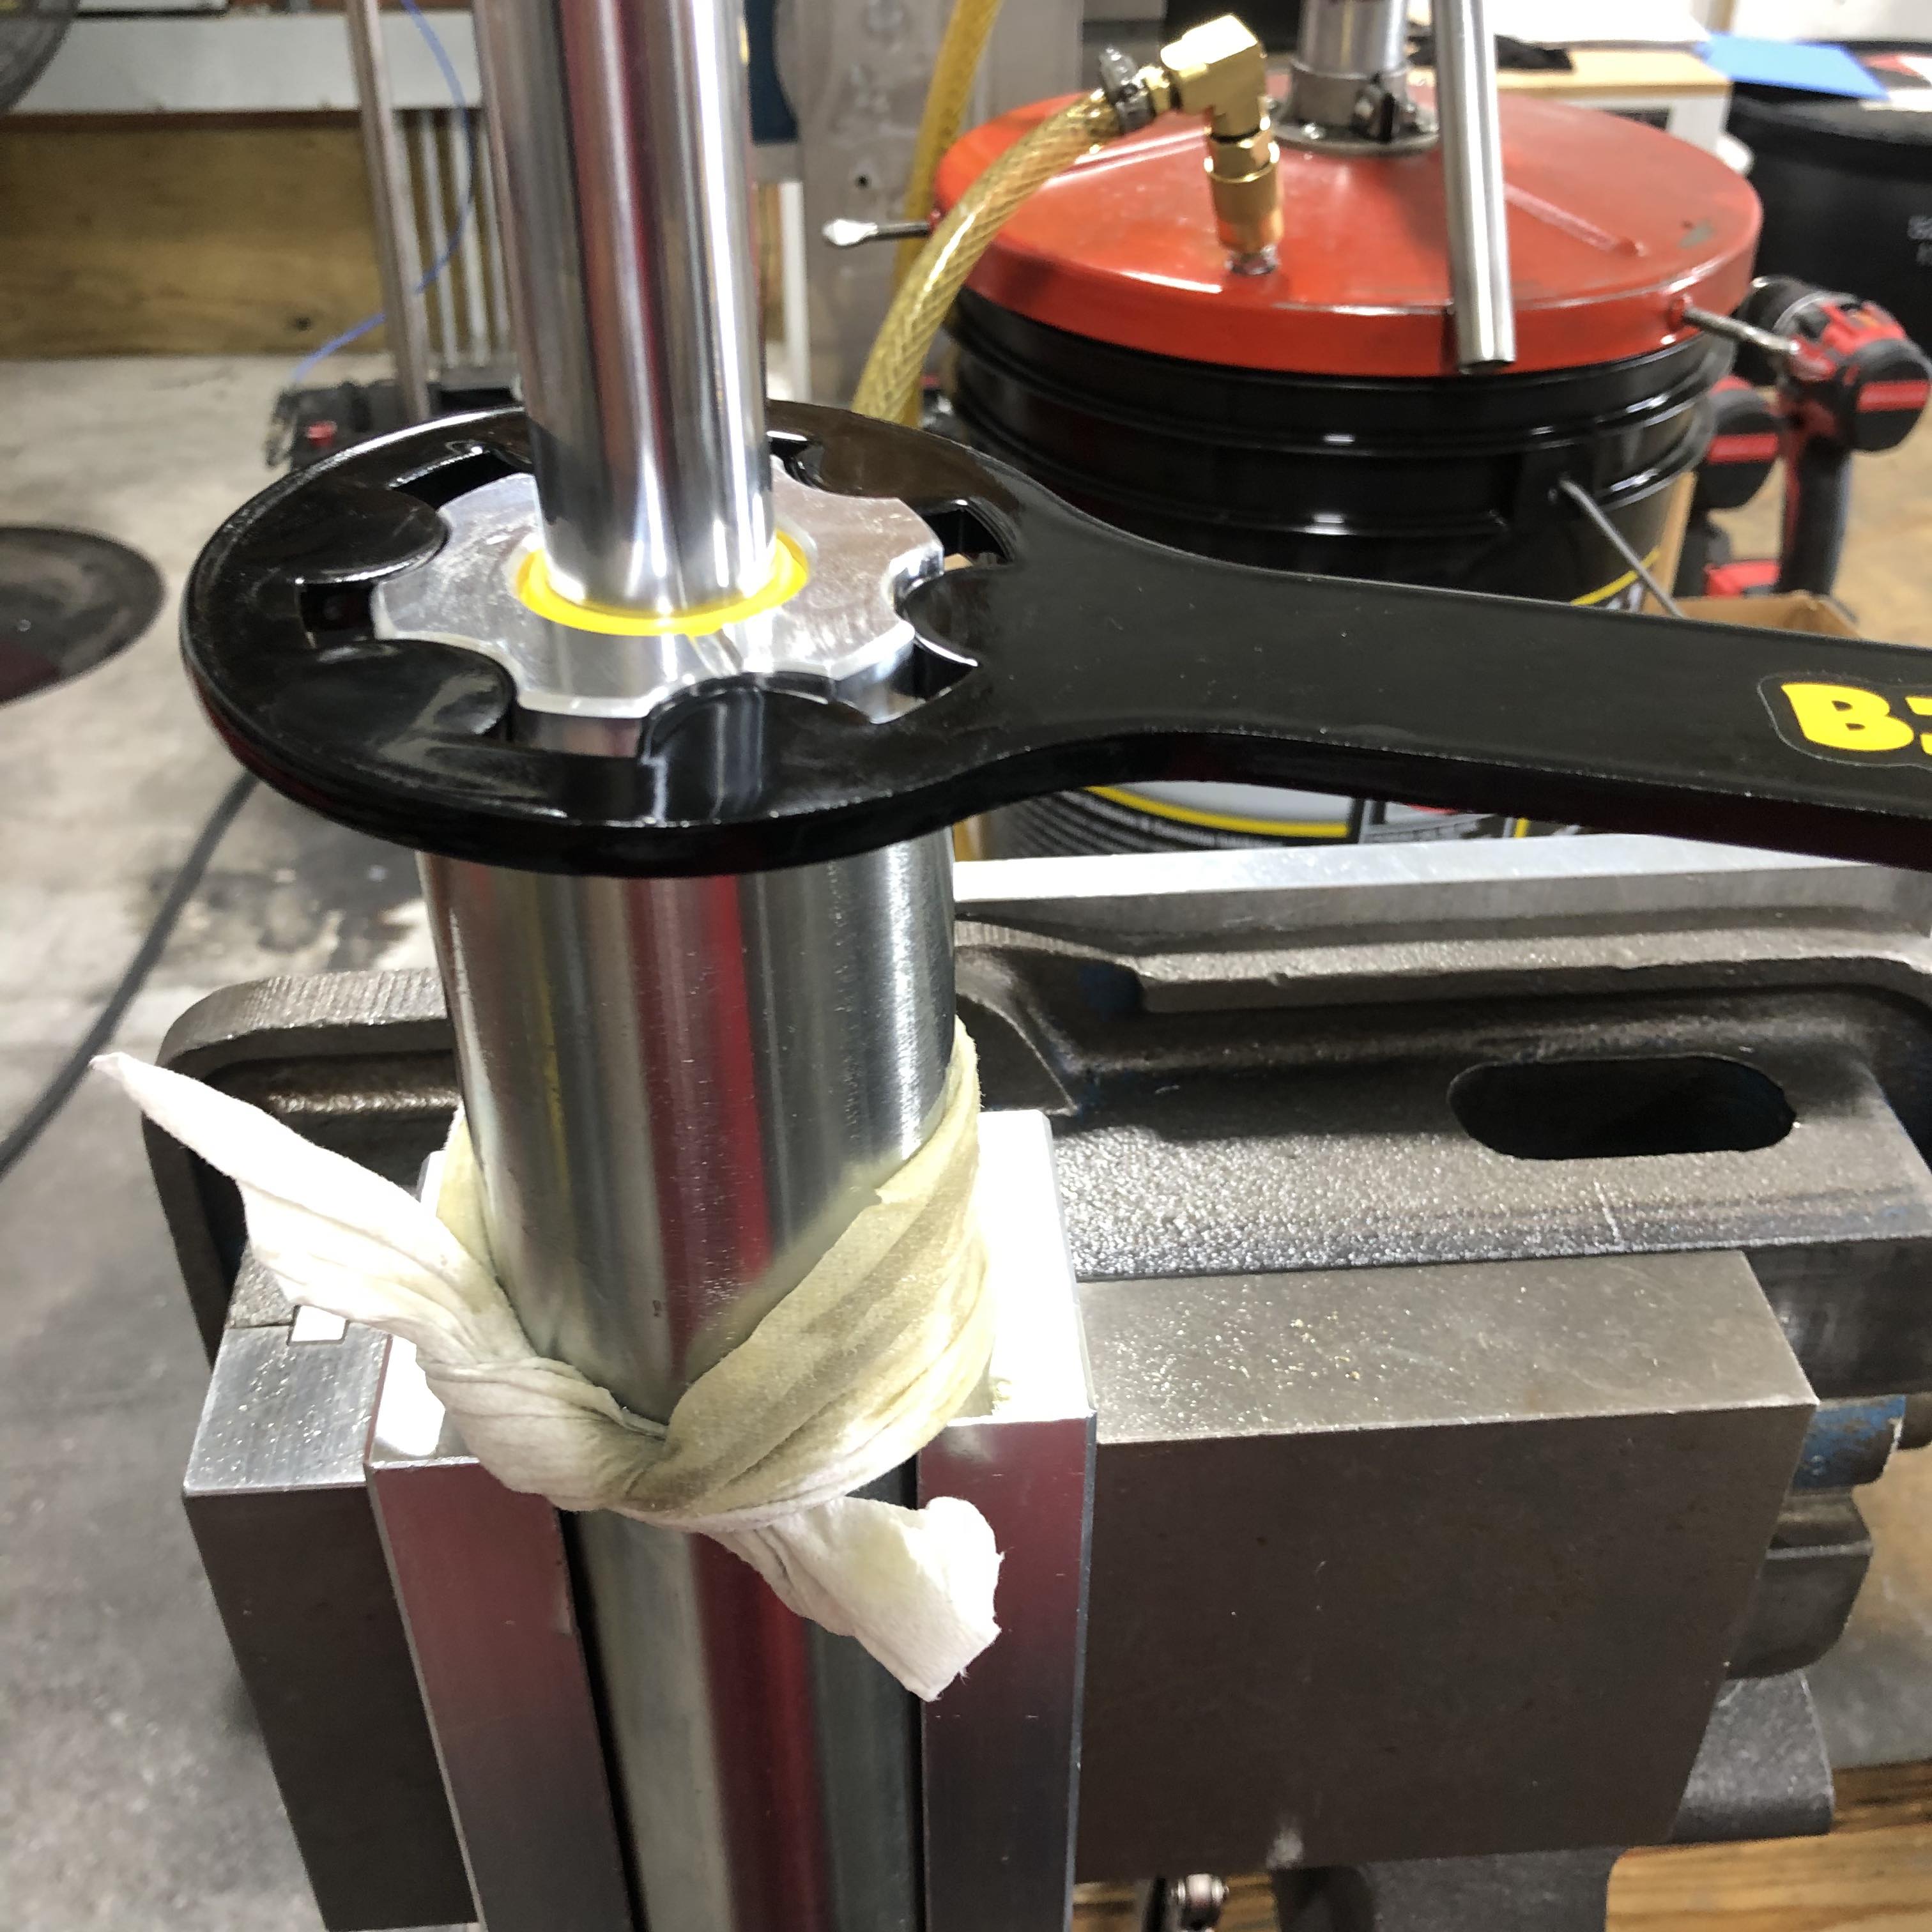 Fig.8
Fig.8
- If there is a dead spot (shaft moves with very little force) in the shock you either have air still trapped in the shock or not enough oil. If this is the case be sure to start back over at Step 15.
- Compress the shaft all of the way into the shock.
- Pressurize the reservoir with 150 psi. Install reservoir schrader valve cap.
- Remove the shock from the vise.
Shaft Assembly